Travel photography is one of the most exciting ways to document your journeys, but many people often wonder: How can I take professional-looking photos with just my phone? If you’re like me, you probably find yourself snapping photos during every trip, hoping they’ll capture the beauty and essence of the places you visit. But once you look at them later, they don’t quite live up to your expectations. You’re not alone in this! I’ve been there too, and it can be frustrating.
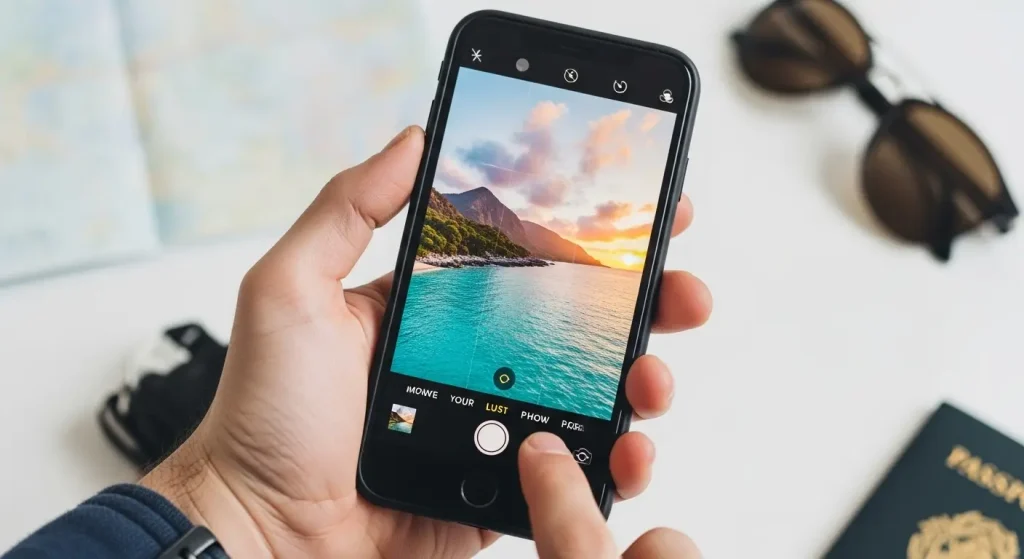
The good news is that making your travel photos look better doesn’t require an expensive camera or years of experience. With just your phone and a few tips, you can drastically improve the quality of your photos. In this guide, I’ll share some practical tips that I’ve learned over time to make your travel photos look much more professional.
Why Should You Care About Improving Your Travel Photos?
We live in a world where social media platforms are flooded with pictures and stories. Whether you’re posting your vacation snaps or sharing a moment from your trip on Instagram, your photos are a reflection of your experiences. And while capturing a moment is important, presenting it in the best way possible is what truly makes it memorable.
Taking a few extra moments to improve your photos can really make a difference. It’s not about capturing the perfect image every time, but about using your phone’s built-in tools and features effectively to produce a photo that’s as close to the vision you have in your mind. Better photos mean better memories and better stories to tell when you look back at them years from now.
How Can You Make Your Travel Photos Look Better?
Here are some simple yet effective techniques that will help you improve your travel photos with just your phone.
1. Understand Your Camera Settings
Did you know that your phone camera has settings that can make a huge difference in the final shot? While most of us rely on the auto mode, there are a few tweaks you can make to enhance your photos.
Tips for Camera Settings:
- Adjust Exposure: Phones have an automatic exposure setting, but sometimes it can overexpose or underexpose your image. Tap on your subject, and then slide your finger up or down to adjust the exposure. This ensures your photos are well-lit and balanced.
- Turn On Gridlines: Enabling the gridlines on your phone camera will help you apply the rule of thirds, giving your photos better composition. The grid divides your screen into nine equal sections, guiding you to position the subject in a way that’s visually appealing.
- Use HDR Mode: HDR (High Dynamic Range) is an excellent feature to use in situations where there’s a big contrast between light and dark in the scene. It helps in capturing more detail in both the bright and dark areas of your photos.
- Adjust Focus Manually: Some smartphones allow you to manually adjust focus by tapping on the area you want to highlight. For example, if you’re shooting a landmark, you can tap on it to ensure it’s in sharp focus.
2. Utilize Natural Lighting
Lighting is the key to great photos. The best part is that natural lighting is absolutely free! It’s always best to avoid using your phone’s flash unless absolutely necessary, as it can create harsh shadows and make your photos look unnatural.
Tips for Using Natural Light:
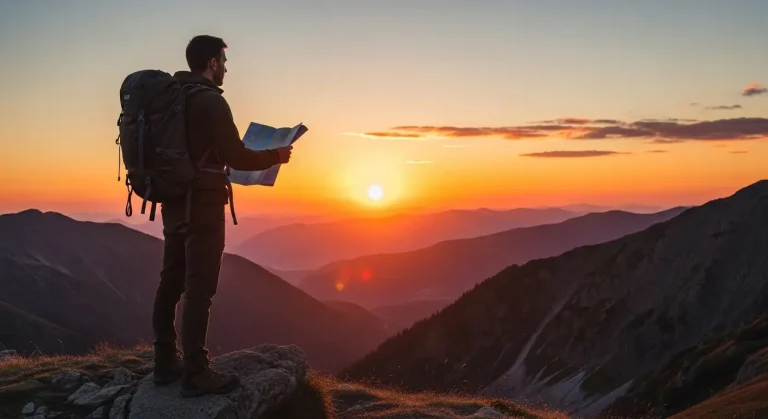
- Golden Hour Magic: The golden hour—the time shortly after sunrise or before sunset—creates soft, warm lighting that is perfect for capturing stunning photos. If you’re outdoors, try to plan your shots around this time to give your photos a beautiful, glowing effect.
- Backlighting: If you’re shooting portraits or silhouettes, try positioning your subject in front of the light source. This creates a stunning backlight effect that enhances the subject’s outline.
- Use Shading: When the sun is too harsh, try finding shade to soften the light. This prevents overexposure and shadows on your subject, giving you more evenly lit photos.
3. Clean Your Lens
This might sound like a no-brainer, but cleaning your phone’s lens can make a huge difference. Fingerprints, dust, or smudges on the lens can make your photos look blurry or unclear. Make it a habit to clean your lens before you start snapping away.
A simple microfiber cloth or a soft, lint-free fabric is all you need. Wipe it gently, and you’ll notice how much sharper your photos will look.
4. Experiment with Composition
The way you frame your subject can make a big difference. A well-composed photo is more engaging and aesthetically pleasing.
Tips for Better Composition:
- The Rule of Thirds: The gridlines mentioned earlier help with the rule of thirds. This rule suggests dividing your frame into three horizontal and three vertical sections. Try to place the main subject along these lines or where the lines intersect. This creates a balanced, dynamic composition.
- Leading Lines: Use elements like roads, paths, or even buildings to create leading lines that guide the viewer’s eye toward the subject. This technique adds depth and interest to your photos.
- Fill the Frame: Don’t be afraid to get close to your subject. Filling the frame with the subject allows for more detail and a stronger connection with the viewer. Whether it’s a landscape or a street portrait, capturing your subject up close can make your photo stand out.
5. Experiment with Perspective
Changing your perspective can dramatically alter the mood and impact of your travel photos. Instead of just shooting from eye level, try different angles to make your images more interesting.
Tips for Different Perspectives:
- Low Angle Shots: Taking a photo from a low angle can make objects, such as monuments or buildings, appear grand and imposing. It adds a sense of grandeur to your photos.
- Aerial Shots: If you’re in a place with a great view, try taking photos from above. Many phones now have built-in features like panoramic mode or wide-angle lenses that allow you to capture sweeping views from an elevated position.
Learn about Belle olivia on XXBRITS
6. Make Use of Editing Apps
After you’ve taken your photos, don’t be afraid to enhance them a bit using editing apps. There are many apps available that let you fine-tune your images, adjust colors, and even remove imperfections. Some popular apps include:
- Snapseed: It offers a wide range of tools for editing, from simple brightness adjustments to more advanced options like curves and selective adjustments.
- VSCO: This app is great for applying filters and making quick adjustments to exposure, contrast, and sharpness.
- Adobe Lightroom: Lightroom gives you more control over your editing, allowing you to work with raw images and apply professional-level adjustments.
While editing is essential for making your travel photos stand out, it’s important not to overdo it. Subtle adjustments often make the biggest impact.
7. Capture the Emotion
One of the key aspects of travel photography is capturing the emotion and atmosphere of the moment. Whether it’s the joy of a sunset or the excitement of a bustling city street, try to convey how you felt when you were there through your photos.
Tips for Capturing Emotion:
- Action Shots: If you’re traveling with friends or family, try to take candid shots of people in action. Whether they’re laughing, exploring, or just relaxing, these moments convey emotion and tell a more authentic story.
- Focus on Details: Sometimes, the small details—like the texture of a cobblestone street or the warmth of a cozy café—can evoke more emotion than wide-angle shots of landmarks.
8. Use Your Phone’s Features Wisely
Many modern phones come with impressive features, such as portrait mode and wide-angle lenses, that can help improve your travel photos.
Smartphone Features to Utilize:
- Portrait Mode: Portrait mode is perfect for creating beautiful, blurred backgrounds (bokeh effect). This is especially great for capturing people or objects with stunning clarity, while the background fades softly into a blur.
- Panoramic Mode: If you’re capturing expansive landscapes or large cityscapes, try using panoramic mode. This feature allows you to capture wider scenes, offering a more immersive perspective of the location.
- Night Mode: Don’t let the absence of natural light stop you from taking great photos. Many phones now offer night mode, which enhances low-light images and reduces noise, making it easier to capture stunning photos in dim environments.
Source: https://pedrovazpaulo.co/
Conclusion
Improving your travel photos using just your phone is completely achievable. With a few tweaks to your camera settings, an understanding of light, and some creative composition techniques, you can take photos that stand out and truly capture the essence of your travels. Remember to experiment with different angles, focus on emotion, and enhance your photos with editing tools to make them look even better. And most importantly, have fun while doing it!
By applying these tips and techniques, you’ll be able to elevate your travel photos from ordinary to extraordinary, creating lasting memories that you’ll be proud to share.

